Welcome to the World of Color: Your Artistic Journey Begins
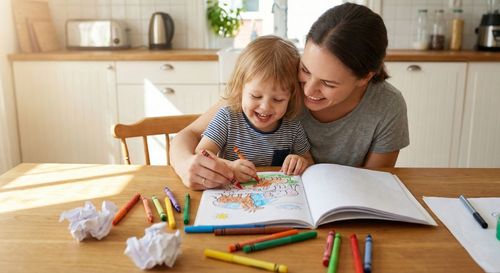
There is a common misconception that coloring is "just for kids" or that it requires no skill other than staying within the lines. While the simplicity is part of the charm, coloring is actually a deep, rewarding medium that allows for incredible artistic expression. Whether you are picking up a pencil for the first time in decades or you are looking to refine your existing skills, this guide will take you through the evolution of a colorist.
Don't worry about being "perfect" from the start. Like any other craft, coloring is about the process, the patience, and the joy of seeing a black-and-white image burst into life.
Phase 1: Choosing Your Toolkit
Before you make your first mark, you need the right tools. You don't need to spend a fortune, but understanding your medium changes everything.
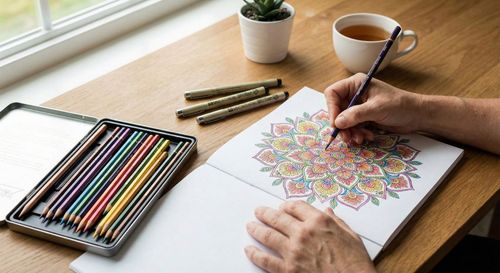
- Wax-Based Pencils: These are the most common (like Prismacolor). They are soft, easy to blend, and provide vibrant "creamy" coverage.
- Oil-Based Pencils: These are slightly harder (like Faber-Castell Polychromos). They hold a sharp point longer and are excellent for fine details and layering without "wax bloom."
- Alcohol Markers: Great for bold, flat areas of color, but they require thicker paper to prevent bleeding.
- The Paper Factor: If you are printing your own pages, try to use cardstock or a paper with a slight "tooth" (texture). This helps the pencil pigment grip the surface.
Phase 2: The Basics – More Than Just Filling Space
Most beginners start by pressing hard to get maximum color immediately. Pro tip: Don't do that.
Pressure Control
The secret to great coloring is light pressure. By applying multiple light layers, you can build up a rich, deep color without flattening the texture of the paper. This allows you to add more colors on top later—a process called "layering."
Directional Strokes
Try to move your pencil in small, circular motions rather than long back-and-forth lines. Circular strokes eliminate harsh "stop and start" marks, resulting in a much smoother, professional finish.
Phase 3: Intermediate Techniques – Shading and Light
To make your images pop off the page, you need to understand light and shadow. An image without shading is "flat." An image with shading has "form."
Finding the Light Source
Imagine a tiny sun in the corner of your page. Parts of the drawing closer to that "sun" should be lighter, while parts further away (or tucked behind other objects) should be darker. Using a darker version of your base color in these areas creates a 3D effect.
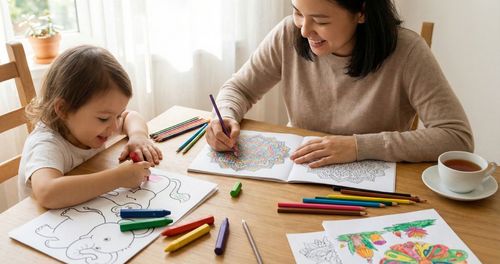
The "Two-Color" Rule
Never color an object with just one pencil. If you are coloring a green leaf, use a dark green for the veins, a medium green for the body, and perhaps a touch of yellow for the parts where the sun hits it. This mimics nature and adds instant depth.
Phase 4: Advanced Skills – Blending and Textures
Now that you have the basics down, it’s time to move into the "Pro" zone. This is where your work starts to look like a painting rather than a coloring page.
Blending Techniques
There are several ways to blend colors together for a seamless gradient:
- Burnishing: Once you have several layers of color down, go over the area with heavy pressure using a very light color (or a colorless blender pencil). This "smooshes" the pigments together.
- Solvents: Some artists use a tiny amount of baby oil or odorless mineral spirits on a cotton swab to dissolve the wax and blend the colors into a paint-like finish.
Creating Highlights
Use a white gel pen or a fine-tip eraser to add "specular highlights"—those tiny white dots that make eyes look sparky or fruit look shiny. It’s a small detail that makes a massive impact.
"The difference between a good coloring page and a great one is the willingness to add one more layer of shadow."
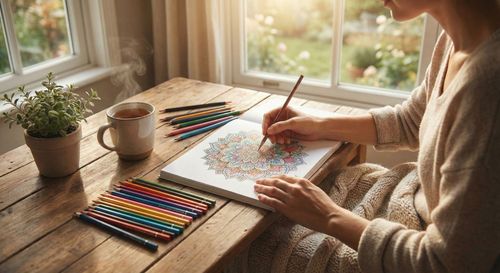
Conclusion: The Artist's Path
Coloring is a journey, not a destination. From the first time you carefully navigate a line to the moment you successfully blend a sunset, every stroke is progress. Remember that the goal isn't just a finished picture—it's the calm, focus, and creativity you experienced while making it. So, grab that first crayon, experiment with your pressure, and don't be afraid to make mistakes. Your masterpiece is waiting underneath those black lines.